MySQL
Installing mySQL is not difficult, but can be tedious and time consuming depending on the version of Windows you are running and how many of the pre-requisites you have already got installed. The following instructions will go through the installation of mySQL Server and mySQL Workbench and include all the potential supporting installs like .NET Framework.
The 1st step is to download the software. I am demonstrating here using a Windows installation on Server 2003. The files that I have downloaded are the mySQL server software and the Workbench
The 1st step is to install the mySQL server software.
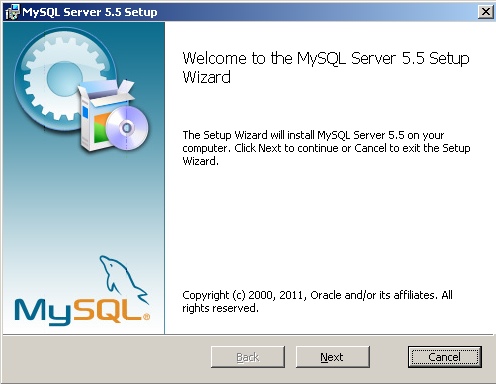
The mySQL welcome screen should appear initially, click on next to continue.
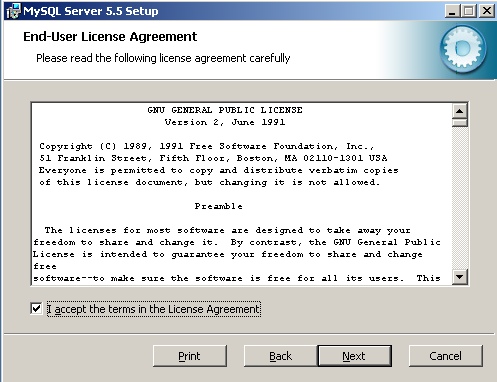
Read and agree to the license agreement (if you want to continue).
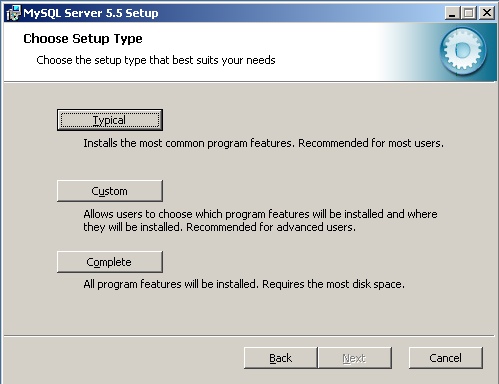
For this example I have selected the "Typical" installation.
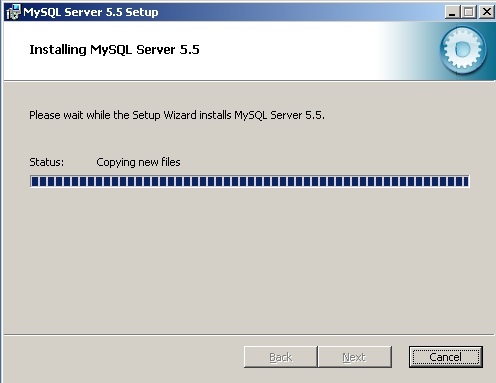
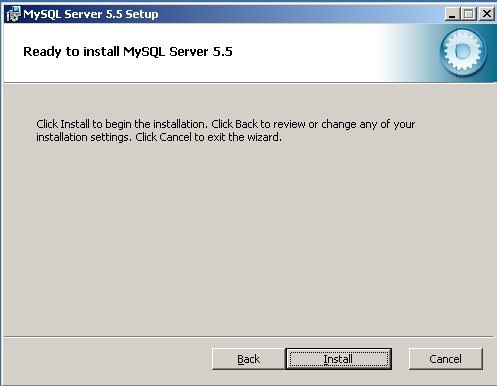
The install should copy the required files now.
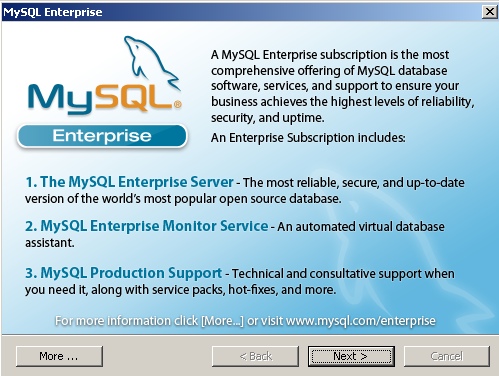
Once it has completed click on the Next button.
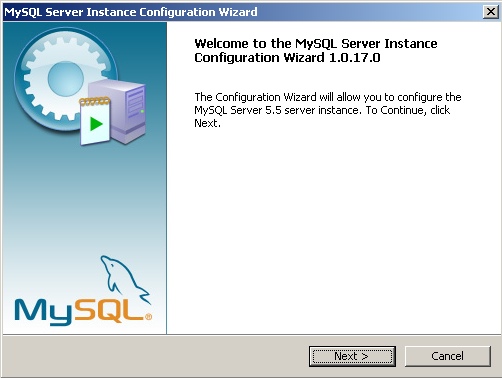
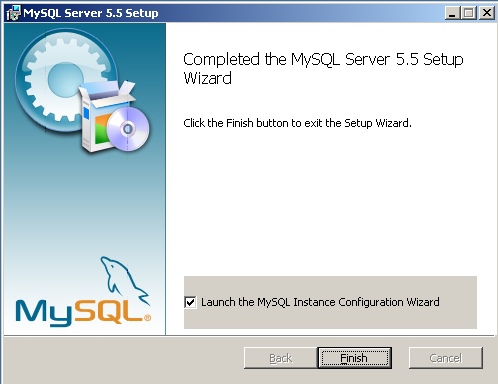
The installer will now load the configuration program, click next.
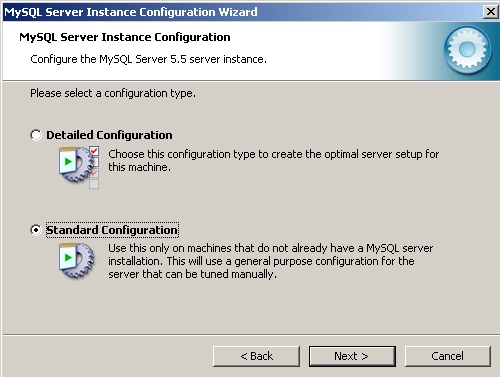
Select "Standard" Configuration an click Next...
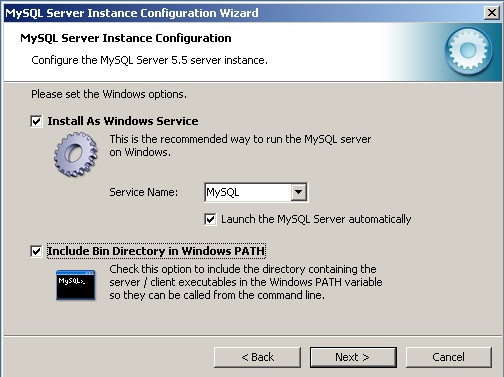
Select the options as show above and click Next...
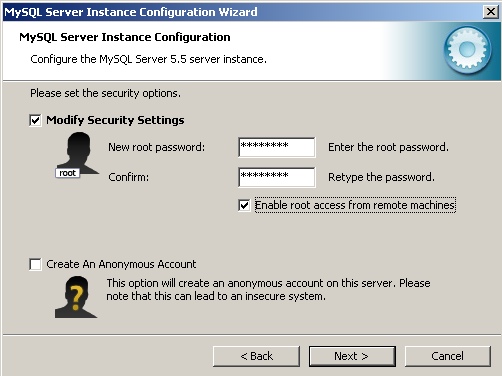
Select a password for the "root" user account. I find it more convenient to also allow remote access for the root user, but this is not mandatory. Click Next to apply the settings..
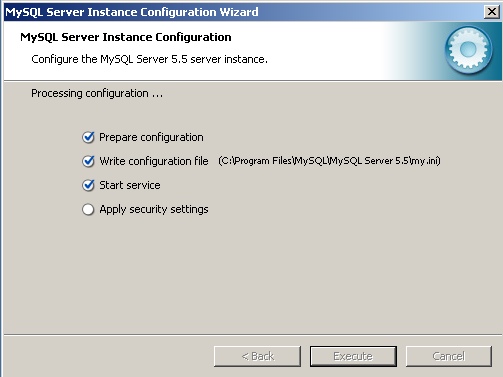
The program will then configure the service...
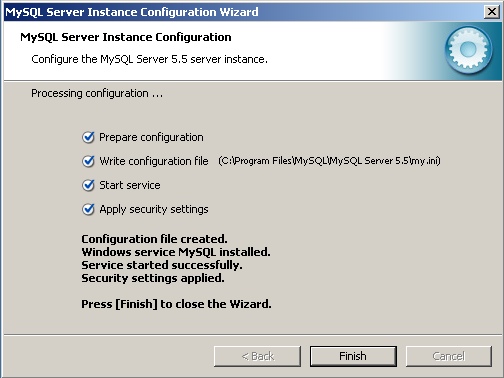
Once the settings have been applied you can click Finish with will close the program.
You have now installed mySQL - however you still need to create a user account and schema for Commander4j to use. You can do this using mySQL command line tools, but I find the mySQL Workbench utility a handy tool to have and easier to use if your not familiar with mySQL. Unfortunately the WorkBench program can be a little temperamental to install. For instructions on how to install mySQL Workbench click on this link.
Once you have installed mySQL Workbench by following the link above you are ready to create a database user for the application to run against. Make sure the Workbench is loaded and perform the following steps

